Flutter Internationalization done right
Internationalizing Flutter apps the easy way

When you think of deploying an app across multiple geographic locations, you should internationalize your app to make users feel at home while using it. Flutter now comes with a localization tool which makes it very easy for the developers to incorporate multiple languages in the application.
In this article, we will look at how we can internationalize our Flutter apps in a very simple way. So let’s get started!
Getting Started
Let’s start off by creating a new Flutter project. We will cover the following points in this article:
- Use two different Locales, English and Spanish in this case
- Override the device default Locale for some parts of the app
- Give user the ability to change the Locale from within the app
- Pass parameters to the Locale messages
NOTE: The example is going to be a simple one so that we can focus more on the Internationalization and Localization aspect.
Update the pubspec.yaml file
Update the pubspec.yaml to include the flutter_localizations ,intl and provider packages.
dependencies:
  flutter:

  # Internationalization support.
  flutter_localizations:
    sdk: flutter
  intl: 0.16.1
  provider: ^4.3.2+2flutter:
# Adds code generation (synthetic package) support
generate: true
Create the l10n.yaml file
Create a new l10n.yaml configuration file in the root of your project. It isused to customize the tool that generates the localization classes that will be imported in our application.
Add the following to the file:
Let’s go through them one by one:
arb-dir: The directory that will contain.arbformat message catalogs. There will be one message catalog for eachlocale. This will act as the input directory to the localization tool.template-arb-file: A message catalog that defines all messages in the application along with metadata information. This file must be created inarb-dir.output-localization-file: Defines the maindartclass file that will be generated by the localization tool.
There are some more configuration options, but these are the ones that you’d need most of the times.
Create the template ARB file
Create the arb-dir directory and the template-arb-file as specified above. The template-arb-file is an ARB format message catalog for one locale that defines all the messages that the application supports.
Note: Filenames for all arb files cannot contain underscores other than for describing the locale.
Let’s start by adding English message catalog in new file app_en.arb :
Here we define English as the locale using @@locale followed by the language code used for localization.
The helloWorld line defines the English translation for the app’s helloWorld message, which is “Hello World!”.
The JSON object that follows @helloWorld contains a description of the message that’s intended to help translators. It also becomes a comment in the method generated for the message.
The name of each message in the template catalog will become the name of the Dart method that the application will use to retrieve the localized value of that message, meaning they must be valid Dart method names.
We can look up the message’s transation by using AppLocalizations class that is generated by the tool as:
Text(AppLocalizations.of(context).helloWorld)Similarly, let’s create app_es.arb as well:
Here, we do not need to include extra information as it will be taken from the English catalog.
Integrating the automatically generated localizations class
Open main.dart and add the following code:
Let’s go through the code now. The second line imports the AppLocalizations class that will be generated by the localization tool. The localiationsDelegates and supportedLocales are automatically generated for us based on the message catalogs and the template we defined earlier. Now you’re ready to localize your app. So simple, isn’t it?
Now the application can look up localizations messages as shown above:
Text(AppLocalizations.of(context).helloWorld)We will use it to show on our appBar and in the center of the screen. Our home_page.dart will look like this:
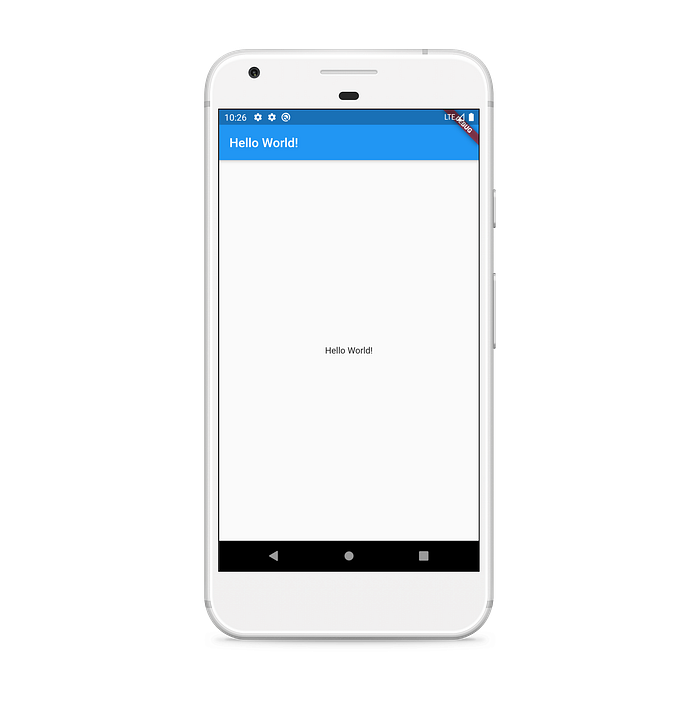
When you run the app, if your default locale is English, you will see the following output:
When you change the device locale to Spanish, you will see the following output:

Overriding the device default Locale
In some cases, you might want to have a different locale for some section of your app. The Localizations widget has a factory constructor Localizations.override that is used when your app needs to be localized to a different locale than the one configured for your device.
Open the home_page.dart and update it to the following:
The Localizations.override takes the current BuildContext , the new locale and a child in which the new locale will take effect. Here we specify es as the new locale for the child.
Note how we use the Builder to get the correct BuildContext . If you provide a wrong context then the new locale will not take effect.
If you run the app now, with the device locale set to English, you will see the following:
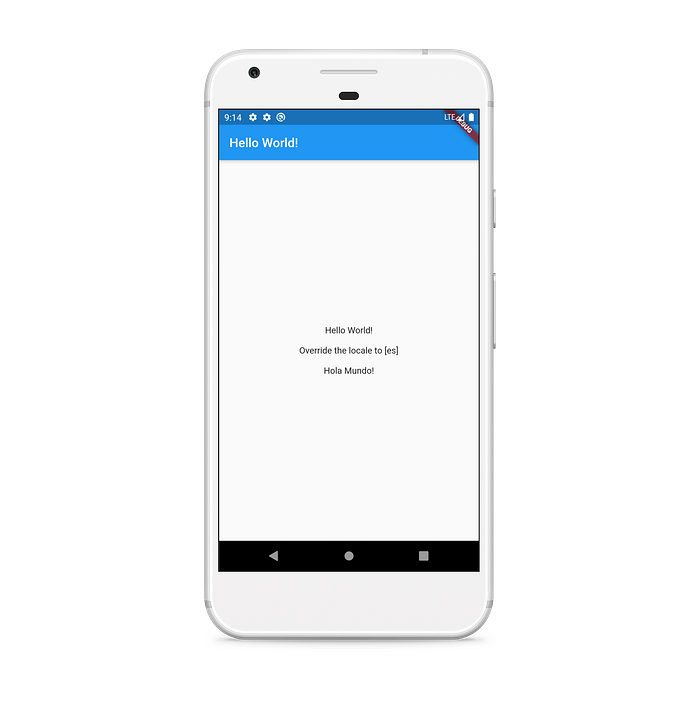
As you can see, all the other parts of the app have English locale except the one where we used Localizations.override .
Giving user the ability to change the Locale from within the app
It is not enough just to make our app responsive to different locales, but we also want to give users the ability to choose the language within the app as and when required. We will using the provider package with a simple example.
Create a new app_locale.dart file and add the following code:
If you’re familiar with the provider package, this must be a no-brainer. Here we are defining a Locale and whenever it is changed, we notify the listeners of this class.
Next up, we will add a CupertinoSwitch to our home_page.dart to let the user manually change the language. We will use the AppLocale class we created to change the locale of the app.
Here, we access the provider we created and call the changeLocale method with appropriate parameters when the value of CupertinoSwitch changes, as well as to update it to a new value.
Let’s move to main.dart and update the app locale using the Consumer Widget.
Here we use ChangeNotifierProvider to provide the instance of AppLocale to its descendants. Next we use the Consumer to access the locale and assign it to the locale of MaterialApp widget using locale.locale .
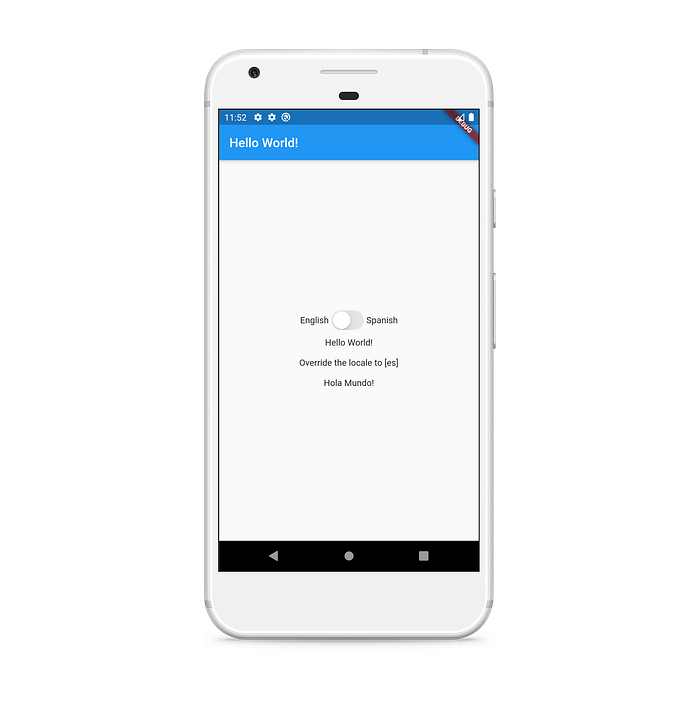
Here’s the output when the locale is English:
And the output when user changes the locale to Spanish:
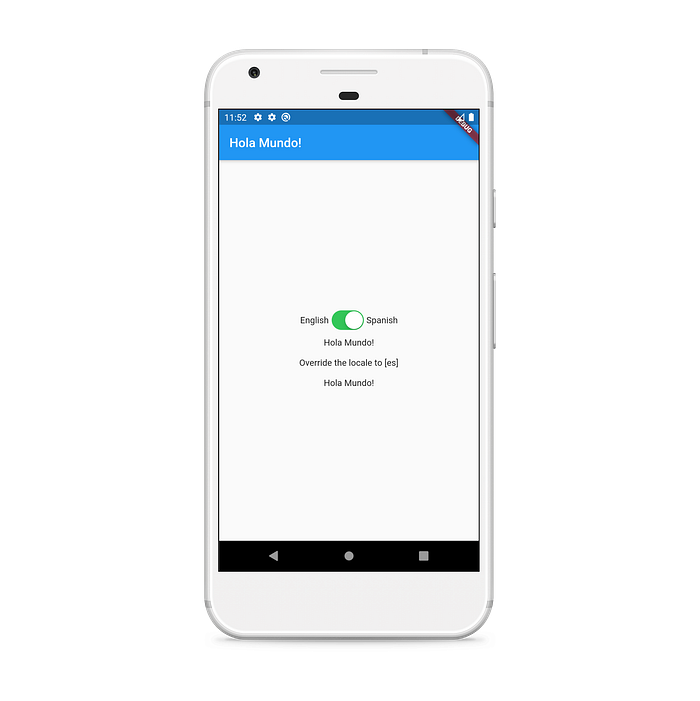
Note that the overridden locale is independent of the locale of the device, or the one chosen by the user.
Passing parameters to messages
Sometimes you might want to use the application values like the name of the user in messages. In such case we might define the message parameters in the catalog by using placeholders. These are the parameter names bracketed with curly braces. These placeholders become positional method parameters in the generated AppLocalizations class. Placeholder names must be valid Dart method parameter names.
Each placeholder must be defined in the placeholders object. For example, to define a hello message with a userName parameter as:
Similarly, we can define its Spanish catalog in app_es.arb as:
The example string will be used as the default parameter in case when no parameter is passed.
Once that is done, go to home_page.dart and add the following:
Here, we just added a new Text widget and called the hello method that will be generated by the tool with the parameter as Flutter.
The final output will be:


We can also have more than one parameter by using multiple curly braces and their corresponding objects in placeholders object like:
"greeting": "{hello} {world}",
"@greeting": {
  "description": "A message with a two parameters",
  "placeholders": {
    "hello": {},
    "world": {}
  }
},
The parameters can be passed as:
AppLocalizations.of(context).greeting(‘Hello’, ‘World’)Conclusion
In this article, we learned how easy it is to internationalize and localize our Flutter apps with the help of the new localization tool that Flutter provides.
We also saw how we can give user the control to change the app language with this new technique and how to pass parameters to the message catalogs.
If you’re interested in a deep dive, check the official Internationalization User Guide.
The complete source code can be found on the link below: